Following are the steps can be useful if you have any application (service) in your on premise that need to access (download/upload) files to AWS S3 storage.
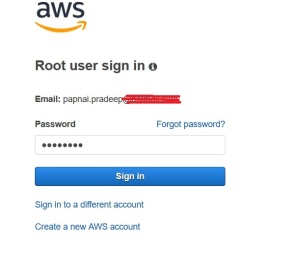
Sign in with root a/c credential to AWS Console
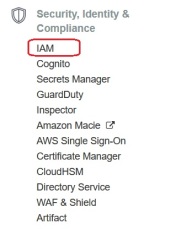
Select IAM under ‘Security, identity and compliance’ container
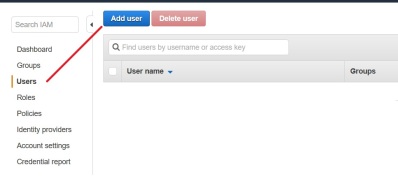
Add a new user for API or Console access.
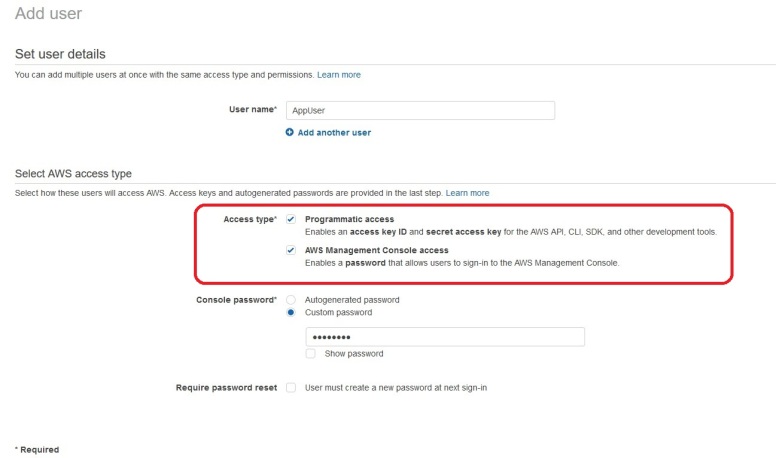
Give appropriate ‘User name’, Select Access Type.
Please note, selection of both access type isn’t recommended for production use due to accessibly issues. This demo require only ‘Programmatic acces. You can use same user account for delegation of AWS storage related stuff managed via AWS console.
Select ‘Attach existing policies directly’ then search for S3, attach ‘AmazonS3FullAccess’

Review the setting and then click on ‘Create user’
Note down user name, access Key ID, Secret Access Key and Sign-in URL. You can additionally download CSV file for all these information.

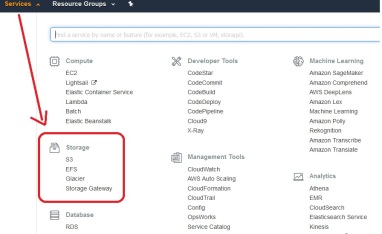
Select ‘S3’ from ‘Storage’ section.
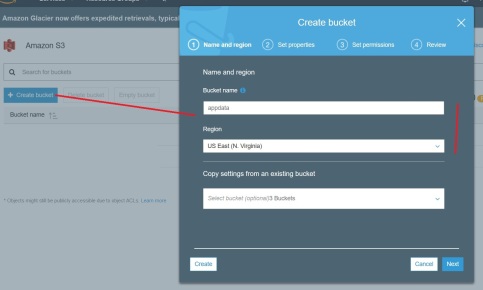
Click on ‘Create Bucket’, give appropriate name and select ‘Region’, the bucket name should be unique in AWS infrastructure. Then click on ‘Create’. I have skipped remaining criteria such as version, permission and website related stuff for this test. However if you need to have specific settings please refer.
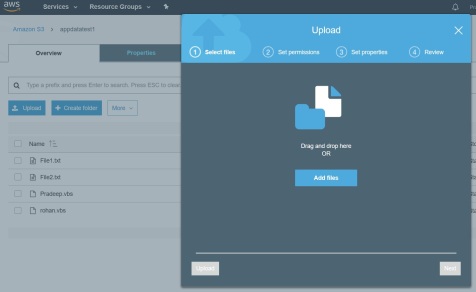
You can upload files manually using AWS Console.
Testing bucket access using on premise application.
Method 1-using CloudBerry
Install Cloudberry (freeware), Connect to AWS S3 bucket
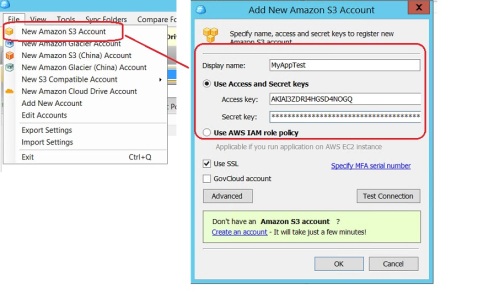
You can copy (/cut)-paste files from local machine to S3 OR vice versa.

Method 2 Using-Powershell
Install AWS tools Open PowerShell, use following commands to test bucket access.
Set Credential.
Set-AWSCredentials -AccessKey AKIAI3ZDRI4HGSD4NOGQ -SecretKey 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
Get-all buckets
Get-S3Bucket

Show all contents of specified bucket.
Get-S3Object -BucketName appdatatest1 -MaxKey 100 |Format-Table

Refer for more details on PowerShell commands AWS.

You must be logged in to post a comment.